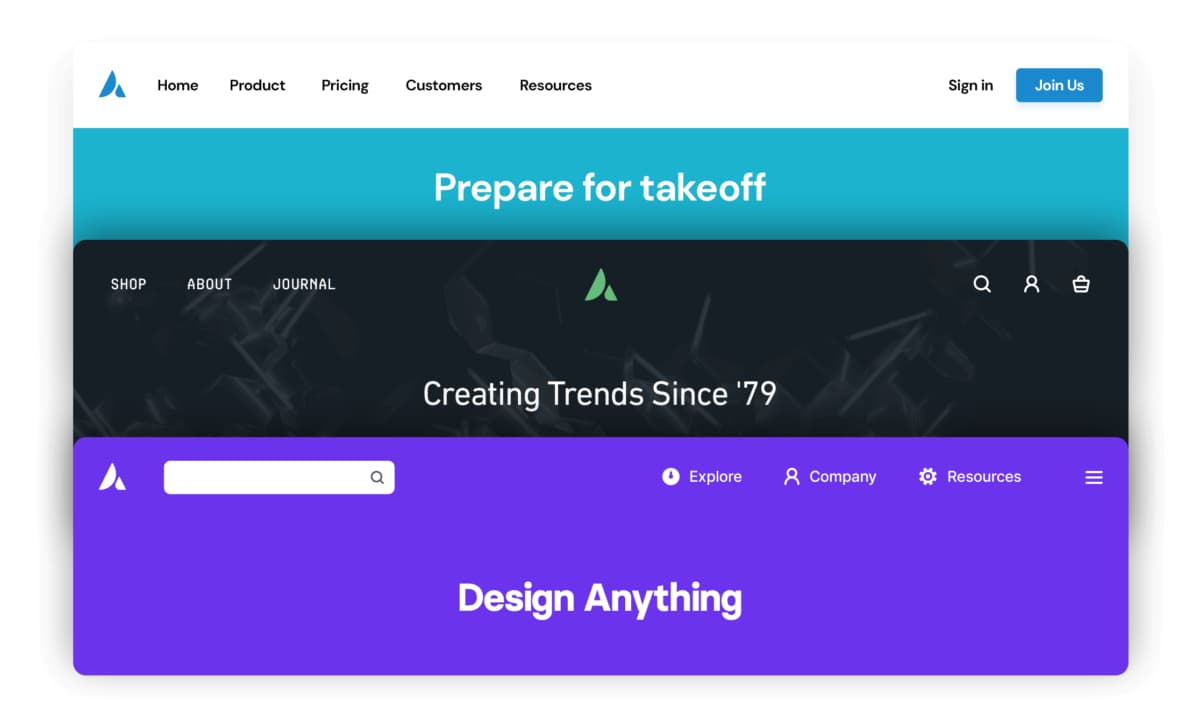
In this article we will talk about a feature that just got released with the Avada 7.0 update and it is the visual header builder so now you have ample styles, basically unlimited options for implementing your own design into an attractive look of power! I want to show you how beautiful these features can be when applied creatively – I also plan on going over some basic layouts in order too.
There are so many options, so this can be overwhelming for the newbies, everything can be customized to suit your needs and preferences. You can select, what menu will be displayed, as you can see on the screenshot. There is also room for customization in terms of which background color or transparency you want – whatever suits best for your site.
I would recommend starting off by using one of their pre-built header from Avada Studio for an easy start before making changes on your own design template.
You can use a pre-built header and customize it as you want, like you would do it with Fusion Builder – you can adjust paddings, you can adjust margins, you can change properties of elements that are inside of columns, etc.; which means there are many ways to make both professional looking designs as well personalized layouts such as those found within Themes Marketplace!
Avada Layout Builder Global settings
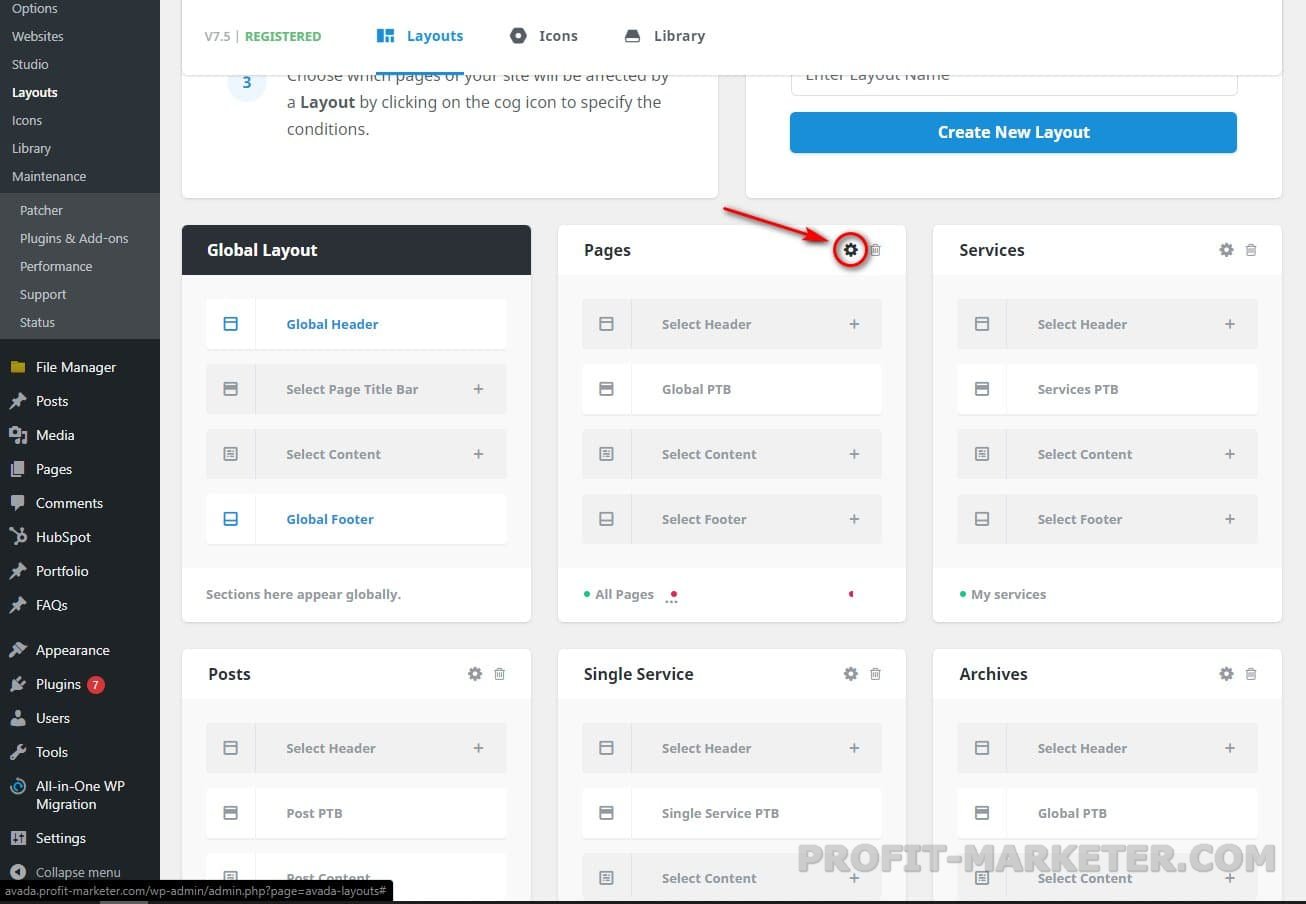
Let’s take a look at how the layout builder works in more detail. You can find these settings here: in the Dashboard => hover on Avada => click Layouts.
This is the Layout Builder – as you can see, there are six important things – Global layout, Page, Single Post, Single event, Custom 404 page and Search. These are different layouts that are supported.
Speaking of Global Layout – it’s like Global options – everything you do here will apply to all pages, posts, events and so on. Whenever you do something global – I will apply everywhere.
This option allows us modify options globally without having individual posts or pages (footer, header sections, etc.) being edited separately.
If you want to override that global settings on some specific pages – you can edit a Page Layout. You can select, on which pages to use this layout, by clicking on gear icon – here you can select the specific pages, where your changes will apply on.
If you have any particular pages where you want to display different headers or footers, just select “Page” and they will appear only for that specific content type. Similarly if you have a post where you would like to overwrite the global options you can edit the single post section of the Layout builder. And if you want to customize something in the 404 page, you can edit “404 page” section, which will overwrite global “404 page” options, as I said before. Exact same thing you can do for a search page or a single event page, for every content type you can find in Layout Builder. It’s easy as pie.
How to make a custom header using Header Builder
Now let’s get some practice, to make sure you master header settings. Say, we want to create a custom header for our page About.
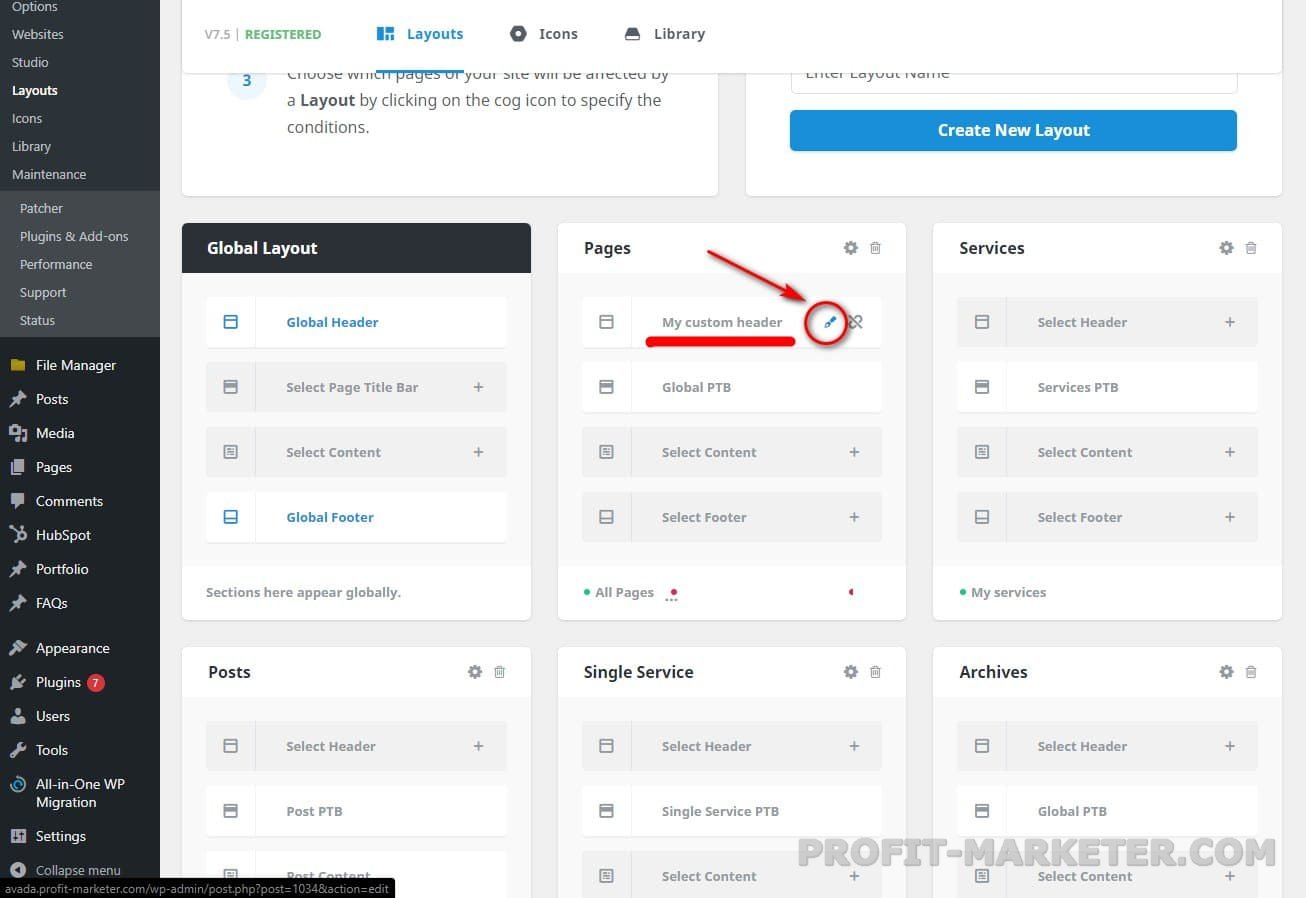
- To build the header visually, we’ll start by clicking this plus icon. This opens like a new post editor where we have the option to build with builder or live we will go with the “Live” option because we want to see everything visually.
This opens the header in a separate tab with Fusion Builder Live.
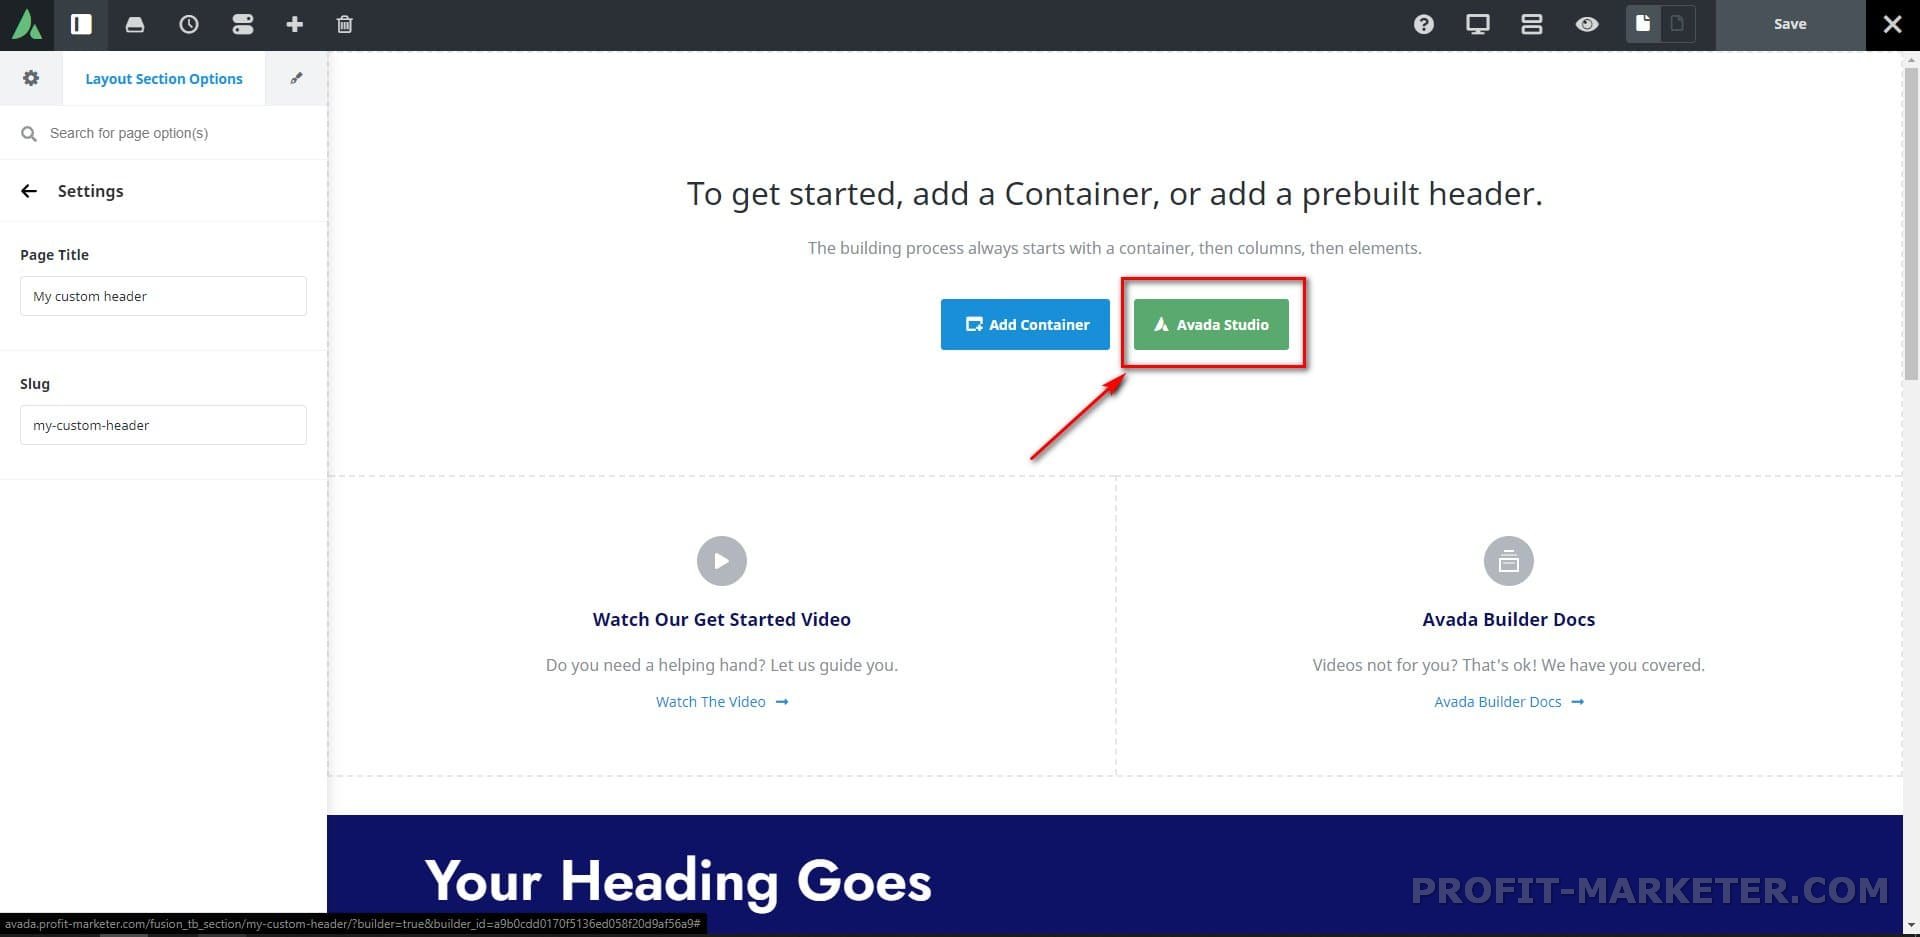
You don’t have to worry about all of those dummy content. What we are interested about is at the top – where you can choose, to start with a new Container or with a Pre-Built Header from Avada Studio. The easiest way to create your custom header is to start with a Studio button.
After clicking this button from within this section, you will be taken to an interface where all of the styles that have been available up until now are present as well as some new ones for choosing from!
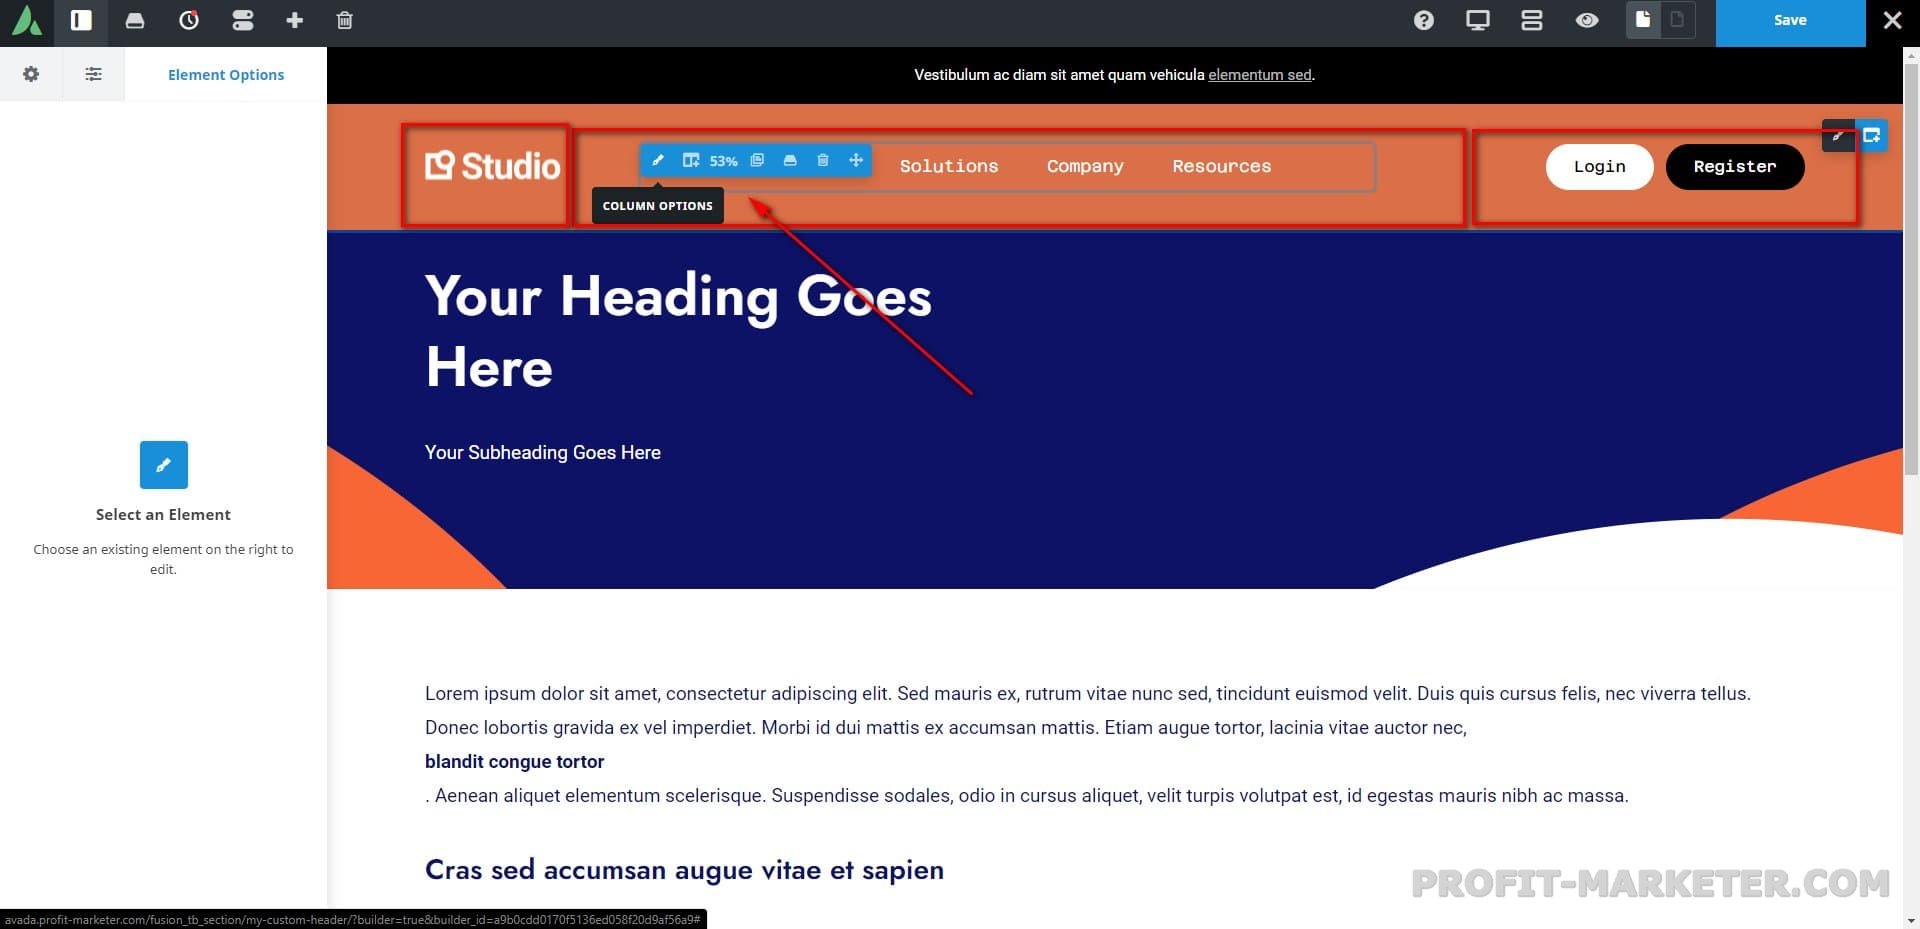
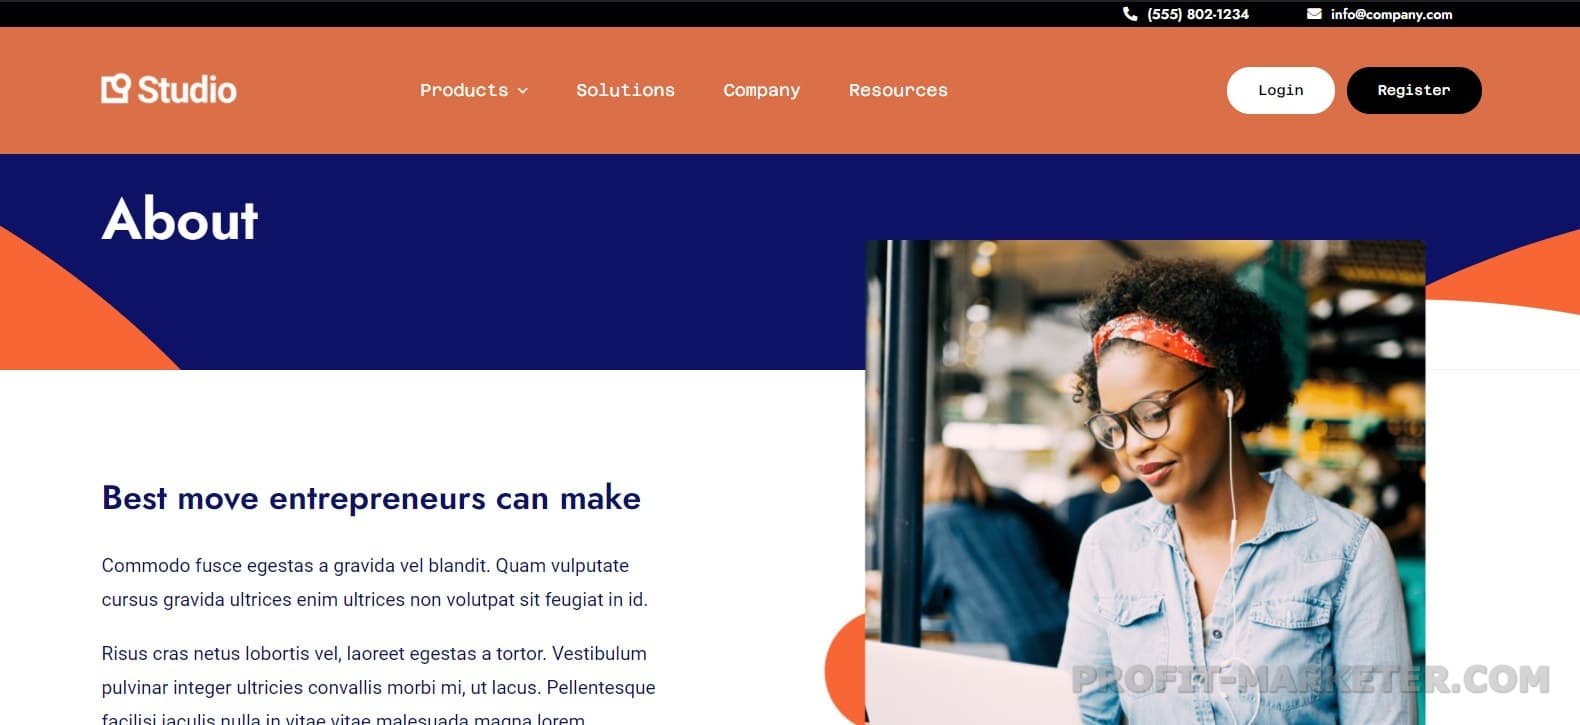
- So if there is any layout that you would like you can just click on that and get started with that. Let’s click on the “Simple header 135” and press “Replace all page content”. You see the container here has three columns: one column – an image element, inside of it which is a logo, is a 17% width, the second column is 53% width and it has a menu options in it, and the third column is a 30% width, which contains two buttons.
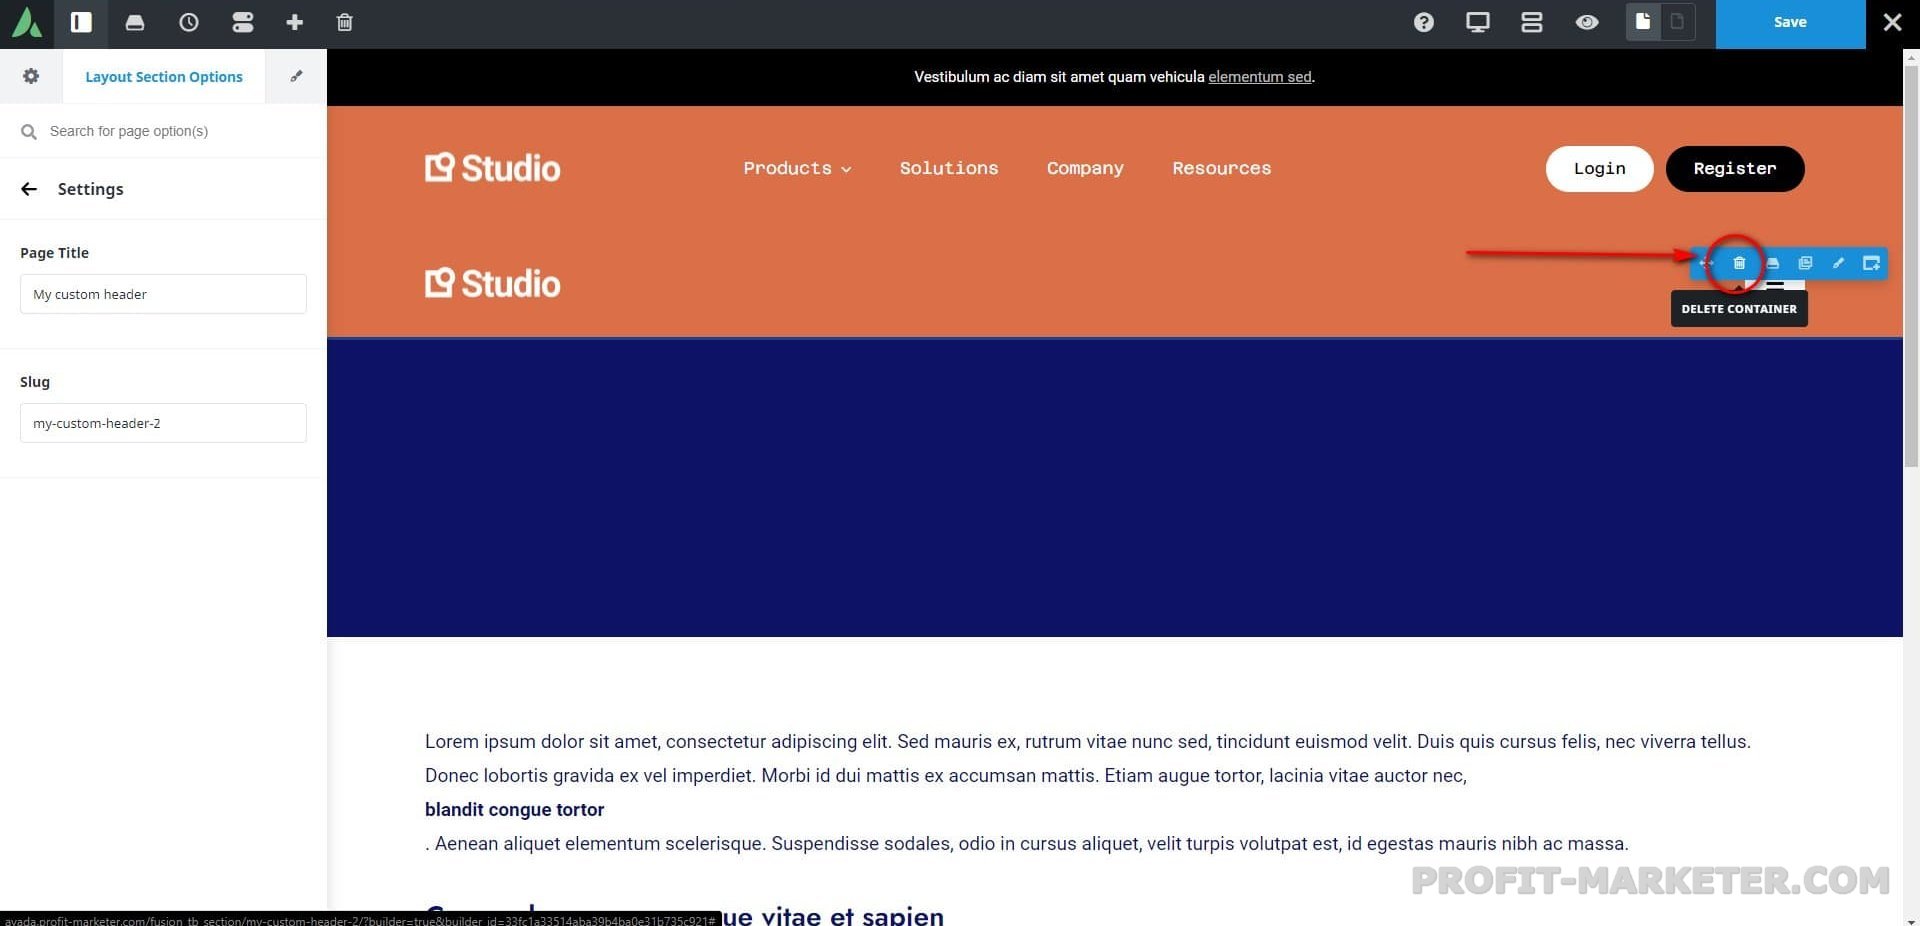
- Remove existing global container below.
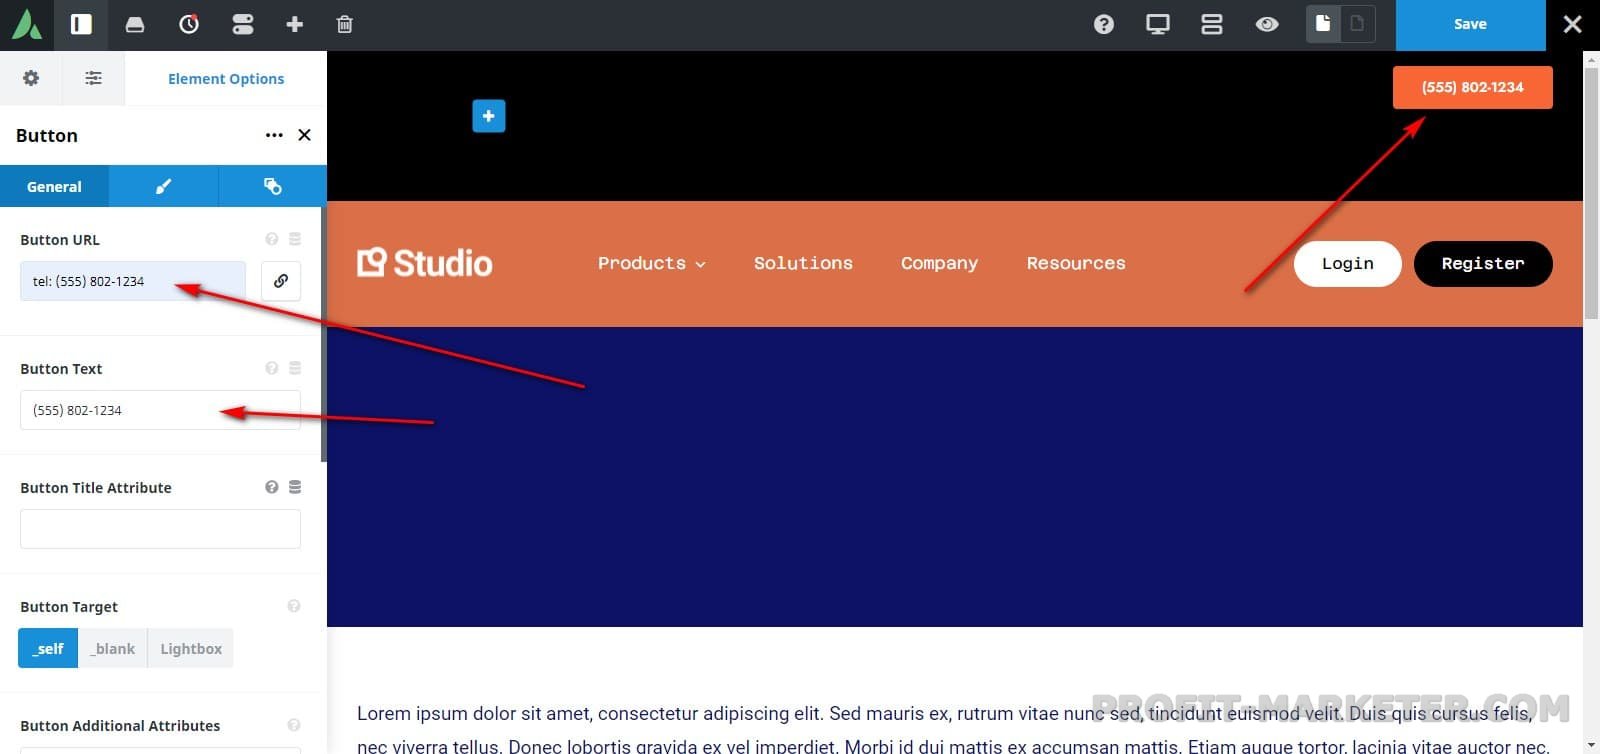
- Let’s say we want place on the top column, which is 100% width, our phone number and email. At first, delete all the content, this row contains. Then, click on + button and choose 1/4 – 3/4 columns. In the 3/4 column add a button (our future prone number).
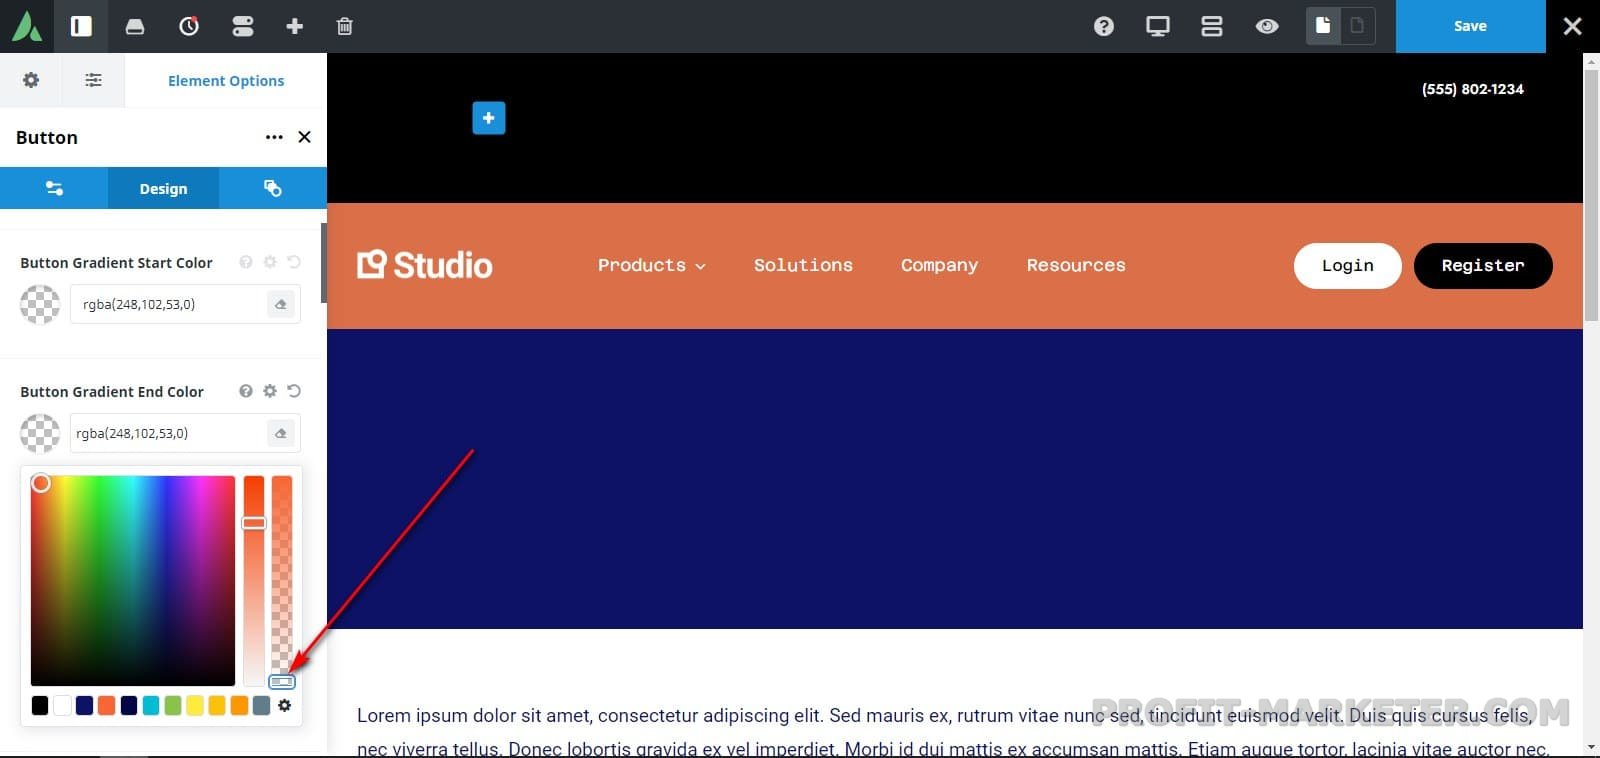
- Edit it for your own needs and according to your current site design. Make sure you set the alignment – right. In my case I choosed Custom Button Style and made all Gradient colors transparent. Also choose a phone icon you like.
- Then clone your Button Element, and make the same, but for your email address.
- Next go to the column options and set the Content Layout to “Row”, Alignment – center, Content Alignment – Flex end. Looks pretty nice, but we need also to edit this big column margin. Inside of column’s and container’s parameters edit Margin and Padding exactly as you like.
All that left is to set our new custom header to our page About. To do this, click on the Gear icon in the Layout Builder – Page section, and choose your desired page.
Cha-ching! We just made a custom header for your page.
Once again – global layout applies everywhere, similar to what we can do for the footer; and these options can be used for specific pages or specific posts, which you can control from the gear icon. Then once you are in the Fusion Builder, you have all the independence to make any design, that suits better for your exact page – you can put images, you can put elements, that Fusion Builder supports, and you can finally visually build out a custom header – so very powerful feature.
